
Merhaba Arkadaşlar,
Mobilhanem.com sitemiz üzerinden anlattığımız/yayınladığımız Android Eğitimleri yazı serimizde bu dersimizde ToogleButton, CheckBox, Switch, RadioButton Kullanımı ile devam ediyoruz. CompoundButton dan türeyen bu android bileşenlerini seçim yapabilmek için kullanırız.
ToogleButton
ToogleButton iki durum arasındaki ayarı değiştirmenizi sağlar. ToogleButton tanımladığımızda default olarak ON/ OFF seçenekleri karşımıza çıkıyor.
activity_main.xml
<?xml version="1.0" encoding="utf-8"?>
<RelativeLayout xmlns:android="http://schemas.android.com/apk/res/android"
    android:layout_width="match_parent"
    android:layout_height="match_parent"
    android:orientation="vertical">

        <ToggleButton
            android:id="@+id/toggleButton"
            android:layout_width="wrap_content"
            android:layout_height="wrap_content"
            android:layout_centerHorizontal="true"
            android:layout_centerVertical="true"
            android:gravity="center_horizontal"
            android:text="ToggleButton" />

</RelativeLayout>
Ekran çıktısı:

ToggleButton state olaylarını dinlemek için aşağıdaki yapıyı kullanıyoruz.
MainActivity.java
public class MainActivity extends AppCompatActivity  {

    private ToggleButton toggle;

    @Override
    protected void onCreate(Bundle savedInstanceState) {
        super.onCreate(savedInstanceState);
        setContentView(R.layout.activity_main);

        toggle = (ToggleButton) findViewById(R.id.toggleButton);
        toggle.setOnCheckedChangeListener(new CompoundButton.OnCheckedChangeListener() {
            public void onCheckedChanged(CompoundButton buttonView, boolean isChecked) {
                if (isChecked) {
                    //The toggle is enabled
                } else {
                    // The toggle is enabled
                }
            }
        });


    }

}
Yukarıdaki konu ile ilgili küçük bir örnek yapalım; ToogButton “ON” durumuna geçtiğinde butonumuzun görünürlüğünü gone yapalım. Eğer ToogleButton “OFF” olduğu durumda ise görünürlüğünü visible yapalım.
activity_main.xml
<RelativeLayout
    xmlns:android="http://schemas.android.com/apk/res/android"
    android:layout_width="match_parent"
    android:layout_height="match_parent">


   <ToggleButton
       android:id="@+id/toggleButton"
       android:layout_width="wrap_content"
       android:layout_height="wrap_content"
       android:text="ToggleButton"
       android:layout_centerVertical="true"
       android:layout_centerHorizontal="true" />

   <Button
       android:id="@+id/startBttn"
       android:text="Tıkla"
       android:layout_below="@+id/toggleButton"
       android:layout_width="match_parent"
       android:layout_height="wrap_content" />


</RelativeLayout>
MainActivity.java
public class MainActivity extends AppCompatActivity  {

    private ToggleButton toggle;
    private Button startBttn;

    @Override
    protected void onCreate(Bundle savedInstanceState) {
        super.onCreate(savedInstanceState);
        setContentView(R.layout.activity_main);

        toggle = (ToggleButton) findViewById(R.id.toggleButton);
        startBttn = (Button)findViewById(R.id.startBttn);
        toggle.setOnCheckedChangeListener(new CompoundButton.OnCheckedChangeListener() {
            public void onCheckedChanged(CompoundButton buttonView, boolean isChecked) {
                if (isChecked) {

                    startBttn.setVisibility(View.GONE);

                } else {

                    startBttn.setVisibility(View.VISIBLE);

                }
            }
        });


    }

}
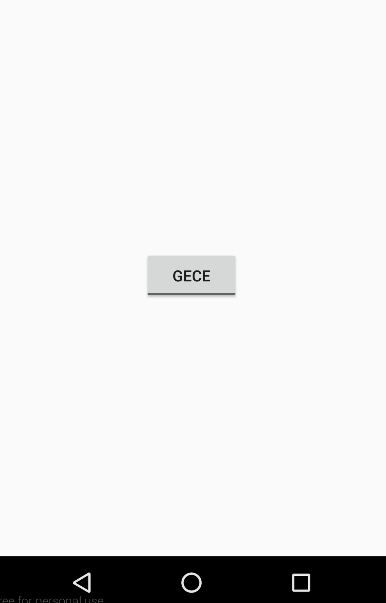
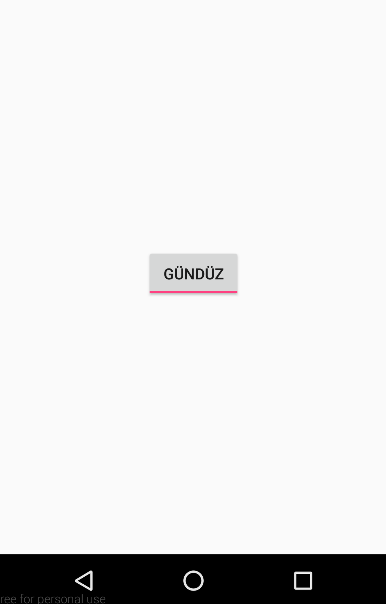
android:textOff : ToogleButton check olmadığı durumda gösterilecek yazıyı belirler.
android:textOn : ToogleButton check olduğu durumda gösterilecek yazıyı belirler.
activity_main.xml
<RelativeLayout
    xmlns:android="http://schemas.android.com/apk/res/android"
    android:layout_width="match_parent"
    android:layout_height="match_parent">


   <ToggleButton
       android:id="@+id/toggleButton"
       android:layout_width="wrap_content"
       android:layout_height="wrap_content"
       android:text="ToggleButton"
       android:textOn="Gündüz"
       android:textOff="Gece"
       android:layout_centerVertical="true"
       android:layout_centerHorizontal="true" />

</RelativeLayout>
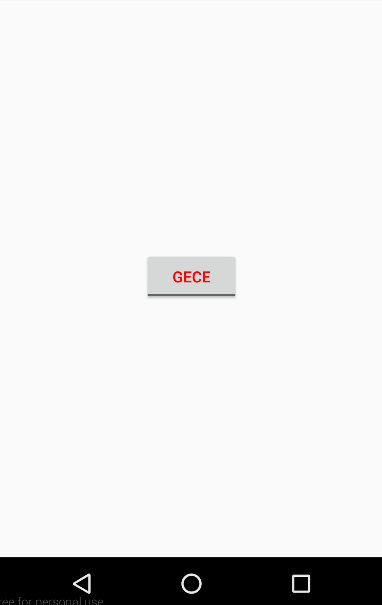
android:textColor: ToogleButton içinde yer alan yazının rengini değiştirmeyi sağlar.
activity_main.xml
<RelativeLayout
    xmlns:android="http://schemas.android.com/apk/res/android"
    android:layout_width="match_parent"
    android:layout_height="match_parent">


   <ToggleButton
       android:id="@+id/toggleButton"
       android:layout_width="wrap_content"
       android:layout_height="wrap_content"
       android:text="ToggleButton"
       android:textOn="Gündüz"
       android:textOff="Gece"
       android:textColor="#f00"
       android:layout_centerVertical="true"
       android:layout_centerHorizontal="true" />


</RelativeLayout>
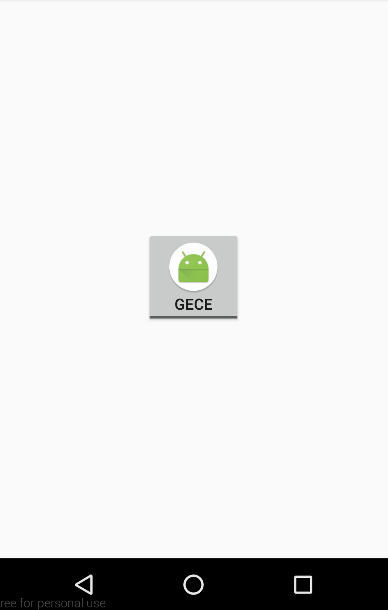
android:drawableBottom, android:drawableTop, android:drawableRight, android:drawableLeft : Sırasıyla ToggleButton un altında, üstünde , sağında ve solunda resim konumlandırmamızı sağlar.
activity_main.xml
<RelativeLayout
    xmlns:android="http://schemas.android.com/apk/res/android"
    android:layout_width="match_parent"
    android:layout_height="match_parent">


   <ToggleButton
       android:id="@+id/toggleButton"
       android:layout_width="wrap_content"
       android:layout_height="wrap_content"
       android:text="ToggleButton"
       android:textOn="Gündüz"
       android:textOff="Gece"
       android:drawableTop="@mipmap/ic_launcher_round"
       android:layout_centerVertical="true"
       android:layout_centerHorizontal="true" />


</RelativeLayout>
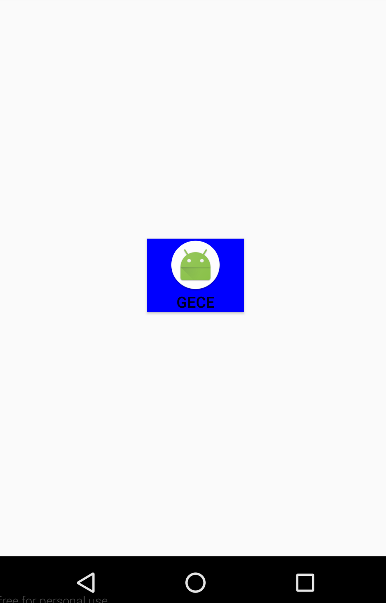
android:background: ToogleButton un arka planı değiştirebilmemizi sağlar.
activity_main.xml
<RelativeLayout
    xmlns:android="http://schemas.android.com/apk/res/android"
    android:layout_width="match_parent"
    android:layout_height="match_parent">


   <ToggleButton
       android:id="@+id/toggleButton"
       android:layout_width="wrap_content"
       android:layout_height="wrap_content"
       android:text="ToggleButton"
       android:textOn="Gündüz"
       android:textOff="Gece"
       android:background="#0000FF"
       android:drawableTop="@mipmap/ic_launcher_round"
       android:layout_centerVertical="true"
       android:layout_centerHorizontal="true" />


</RelativeLayout>
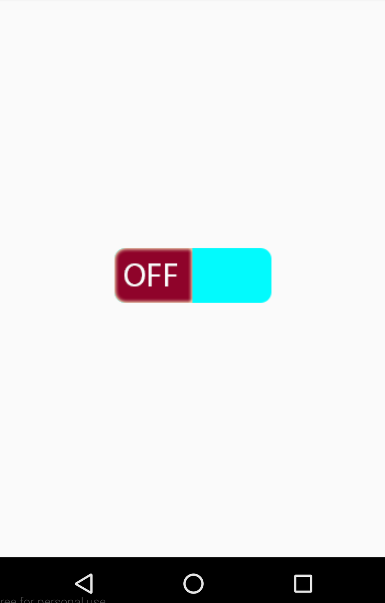
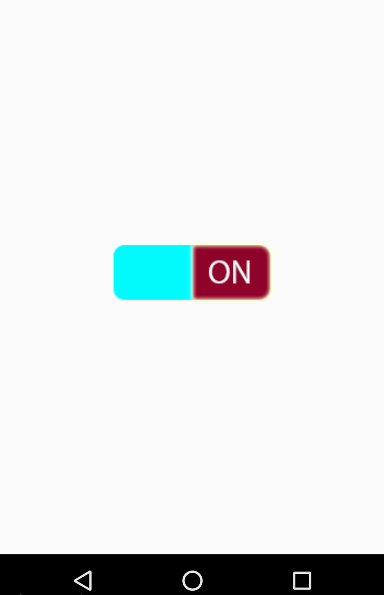
Custom ToogleButton Oluşturma
Kendi ToogleButton larımızı dilediğimiz gibi şekillendirebiliriz. Öncelikle nasıl bir toogle button oluşturmak istediğinize karar verin daha sonra onunla ilgili iki resim oluşturmanız gerekiyor birincisi ToogleButton un açık olduğu durum ikincisi ise ToogleButton un kapalı olduğu durum.
Aşağıda kullanacağımız resimler bulunuyor bunları Android Studio da projemizin dizininde bulunan res-> drawable klasörüne taşıyoruz.
tooglebutton_on

togglebutton_off

Şimdi res->drawable klasörü içine tooglebutton_selector adını verdiğimiz bir xml dosyası oluşturuyoruz. Aşağıda gördüğünüz gibi drawable klasörüne koyduğumuz resimleri check olma durumlarına göre yerleştiriyoruz.
tooglebutton_selector.xml
<?xml version="1.0" encoding="utf-8"?>
<selector xmlns:android="http://schemas.android.com/apk/res/android">
    <item
        android:drawable="@drawable/tooglebutton_on"
        android:state_checked="true"/>

    <item
        android:drawable="@drawable/tooglebutton_off"
        android:state_checked="false"/>
</selector>
ve son olarak xml layout kısmında bu yarattığımız selectoru arka plan olarak ToogleButton a veriyoruz.
activity_main.xml
<RelativeLayout
    xmlns:android="http://schemas.android.com/apk/res/android"
    android:layout_width="match_parent"
    android:layout_height="match_parent">


   <ToggleButton
       android:id="@+id/toggleButton"
       android:layout_width="wrap_content"
       android:layout_height="wrap_content"
       android:textOff=""
       android:textOn=""
       android:background="@drawable/tooglebutton_selector"
       android:layout_centerVertical="true"
       android:layout_centerHorizontal="true" />


</RelativeLayout>
Ekran çıktısı:
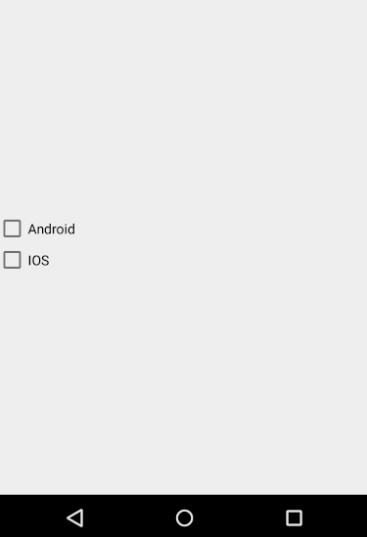
CheckBox
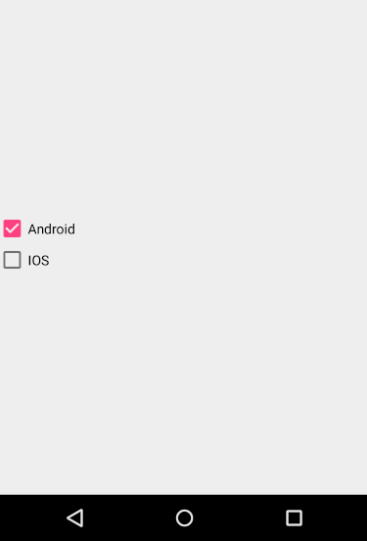
Checkbox birçok seçenek arasından bir veya daha fazla seçim yapmamızı sağlayan bir android bileşenidir. xml layout kısmında nasıl tanımlandığını aşağıdaki gösterdik.
activity_main.xml
<?xml version="1.0" encoding="utf-8"?>
<RelativeLayout xmlns:android="http://schemas.android.com/apk/res/android"
    android:layout_width="match_parent"
    android:layout_height="match_parent">

        <LinearLayout
            android:orientation="vertical"
            android:layout_width="match_parent"
            android:layout_height="wrap_content"
            android:layout_centerVertical="true">

                <CheckBox android:id="@+id/checkboxAndroid"
                    android:layout_width="wrap_content"
                    android:layout_height="wrap_content"
                    android:text="Android"
                    />

                <CheckBox android:id="@+id/checkboxIos"
                    android:layout_width="wrap_content"
                    android:layout_height="wrap_content"
                    android:text="IOS"
                    />

        </LinearLayout>


</RelativeLayout>
Ekran çıktısı:
CheckBox ları seçme eventlerini yakalamak için aşağıdaki gibi xml layout kısmında her bir CheckBox a tıklandığında tek bir methodu tetiklettiriyoruz.
activity_main.xml
<?xml version="1.0" encoding="utf-8"?>
<RelativeLayout xmlns:android="http://schemas.android.com/apk/res/android"
    android:layout_width="match_parent"
    android:layout_height="match_parent">

        <LinearLayout
            android:orientation="vertical"
            android:layout_width="match_parent"
            android:layout_height="wrap_content"
            android:layout_centerVertical="true">

                <CheckBox android:id="@+id/checkboxAndroid"
                    android:layout_width="wrap_content"
                    android:layout_height="wrap_content"
                    android:text="Android"
                    android:onClick="checkBoxClicked"
                    />

                <CheckBox android:id="@+id/checkboxIos"
                    android:layout_width="wrap_content"
                    android:layout_height="wrap_content"
                    android:text="IOS"
                    android:onClick="checkBoxClicked"
                    />

        </LinearLayout>


</RelativeLayout>
Yukarıda onClick olayında tanımladığımız checkBoxClicked methodunu aşağıda tanımladık ve check olma durumuna göre de hangi CheckBox dan geldiğini id ile belirledik ona göre de istediğimiz işlemleri gerçekleştirebiliriz.
MainActivity.java
package com.mobilhanem.androidexample;

import android.os.Bundle;
import android.support.v7.app.AppCompatActivity;
import android.view.View;
import android.widget.CheckBox;

public class MainActivity extends AppCompatActivity {

    @Override
    protected void onCreate(Bundle savedInstanceState) {
        super.onCreate(savedInstanceState);
        setContentView(R.layout.activity_main);

    }

    public void checkBoxClicked(View view) {
        boolean checked = ((CheckBox) view).isChecked();

        switch(view.getId()) {
            case R.id.checkboxAndroid:
                if(checked){

                }else{


                }
                break;
            case R.id.checkboxIos:
                if(checked){


                }else{


                }
                break;
        }
    }


}
Yukarıda tek bir method da kontrolleri yaptık fakat ayrı ayrı CheckBox ların tıklamalarını dinleyecek olursak aşağıdaki gibi setOnCheckedChangeListener kullanmalıyız.
MainActivity.java
ublic class MainActivity extends AppCompatActivity  {

    private CheckBox checkboxAndroid;
    private CheckBox checkboxIOS;
    @Override
    protected void onCreate(Bundle savedInstanceState) {
        super.onCreate(savedInstanceState);
        setContentView(R.layout.activity_main);

        checkboxAndroid = (CheckBox)findViewById(R.id.checkboxAndroid);
        checkboxIOS = (CheckBox)findViewById(R.id.checkboxIos);
        checkboxAndroid.setOnCheckedChangeListener(new CompoundButton.OnCheckedChangeListener() {
            @Override
            public void onCheckedChanged(CompoundButton buttonView, boolean isChecked) {
                if (isChecked)
                {

                }
            }
        });

        checkboxIOS.setOnCheckedChangeListener(new CompoundButton.OnCheckedChangeListener() {
            @Override
            public void onCheckedChanged(CompoundButton buttonView, boolean isChecked) {
                if (isChecked)
                {

                }
            }
        });


    }

}
android:checked: true olması durumunda ilgili CheckBox un tikli gelmesini sağlar.
activity_main.xml
<?xml version="1.0" encoding="utf-8"?>
<RelativeLayout xmlns:android="http://schemas.android.com/apk/res/android"
    android:layout_width="match_parent"
    android:layout_height="match_parent">

        <LinearLayout
            android:orientation="vertical"
            android:layout_width="match_parent"
            android:layout_height="wrap_content"
            android:layout_centerVertical="true">

                <CheckBox android:id="@+id/checkboxAndroid"
                    android:layout_width="wrap_content"
                    android:layout_height="wrap_content"
                    android:text="Android"
                    android:checked="true"
                    />

                <CheckBox android:id="@+id/checkboxIos"
                    android:layout_width="wrap_content"
                    android:layout_height="wrap_content"
                    android:text="IOS"
                    />

        </LinearLayout>


</RelativeLayout>
Ekran çıktısı:
Switch
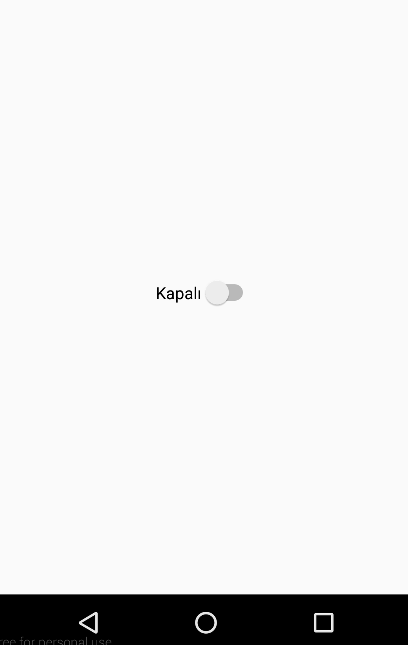
İki seçenek arasında seçim yapmayı sağlayan android bileşenidir. Örnek verecek ilk durumda Kapalı olan Switch değerinin değişim yapıldıktan sonra Açık hale gelmesi.
Switch android bileşeninin xml layout tanımlaması aşağıdadır.
activity_main.xml
<?xml version="1.0" encoding="utf-8"?>
<RelativeLayout xmlns:android="http://schemas.android.com/apk/res/android"
    android:layout_width="match_parent"
    android:layout_height="match_parent">

   <Switch
       android:id="@+id/simpleSwitch"
       android:layout_width="wrap_content"
       android:layout_height="wrap_content"
       android:text="Kapalı"
       android:layout_centerVertical="true"
       android:layout_centerHorizontal="true" />

</RelativeLayout>
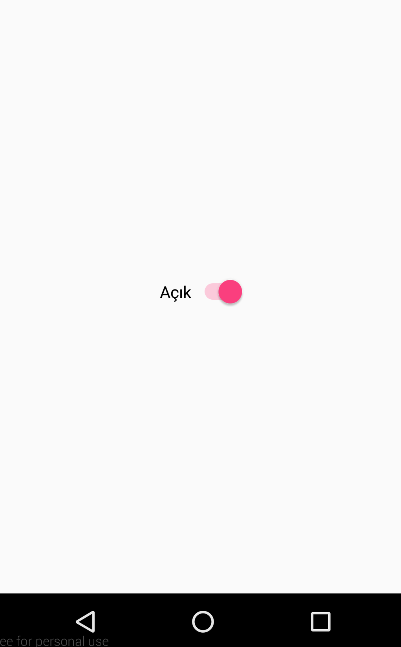
Şimdi MainActivity kısmını inceleyelim; setOnCheckedChangeListener ile Switch değişikliğini yakalarız ve tikli ise Açık olarak yazıyı değiştiririz eğer tikli değilse de Kapalı olarak değiştiririz.
MainActivity.java
public class MainActivity extends AppCompatActivity  {

    private Switch aSwitch;

    @Override
    protected void onCreate(Bundle savedInstanceState) {
        super.onCreate(savedInstanceState);
        setContentView(R.layout.activity_main);

        aSwitch = (Switch)findViewById(R.id.simpleSwitch);

        aSwitch.setOnCheckedChangeListener(new CompoundButton.OnCheckedChangeListener() {
            @Override
            public void onCheckedChanged(CompoundButton buttonView, boolean isChecked) {
                if(isChecked){

                    buttonView.setText("Açık");

                }else{
                    buttonView.setText("Kapalı");

                }
            }
        });
    }

}
Ekran çıktısı:
Kapalı olma durumu
Açık olma durumu
Evet arkadaşlar ToogleButton, CheckBox, Switch, RadioButton Kullanımı aşamalarını sizlere detaylıca anlatmaya çalıştım. Umarım hepiniz için faydalı olmuştur.
Sıfırdan android dersleri için tıklayınız.
Mobilhanem.com üzerinden anlattığımız android uygulama geliştirme derslerine devam edeceğiz. Konu hakkında sorunuzu yorum alanından sorabilirsiniz. Konu dışı sorularınızı ve tüm yazılımsal sorularınızı sorucevap.mobilhanem.com sitemizden de sorabilirsiniz.
Bir daha ki dersimizde görüşmek dileğiyle..
64


 Slack Grubumuza Üye Oldunuz mu ?


[…] (Şəkillərin mənbəsi) […]